A Flavor-Filled Adventure Awaits!
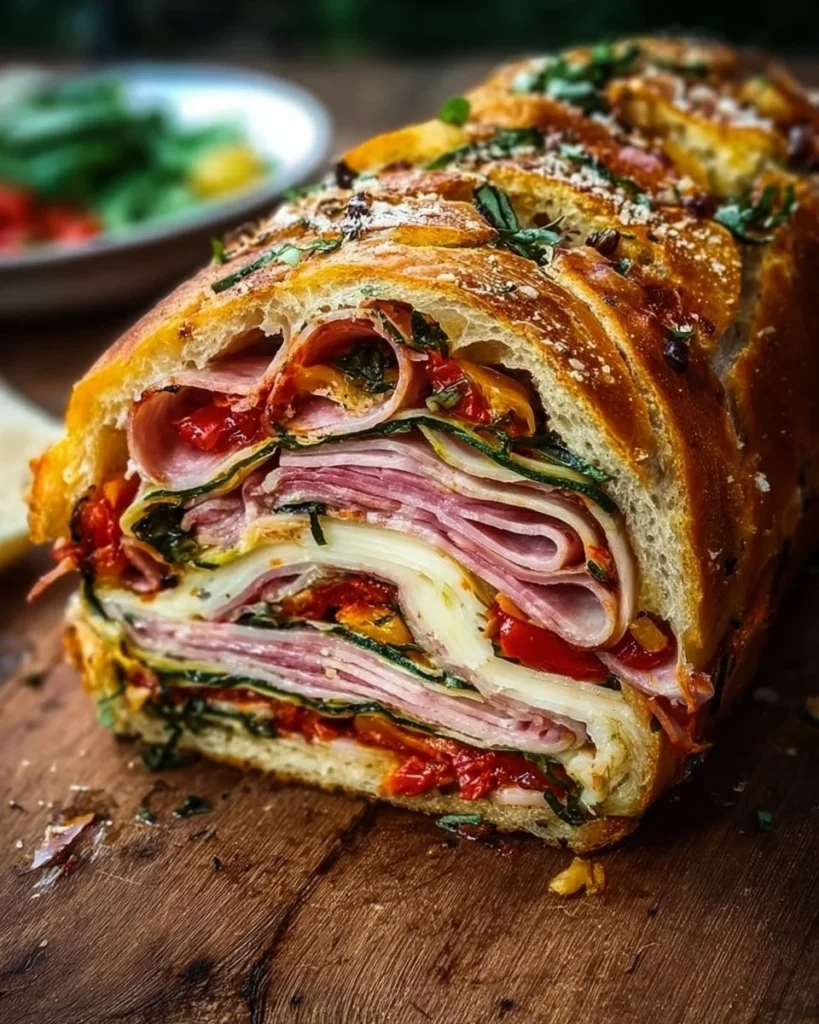
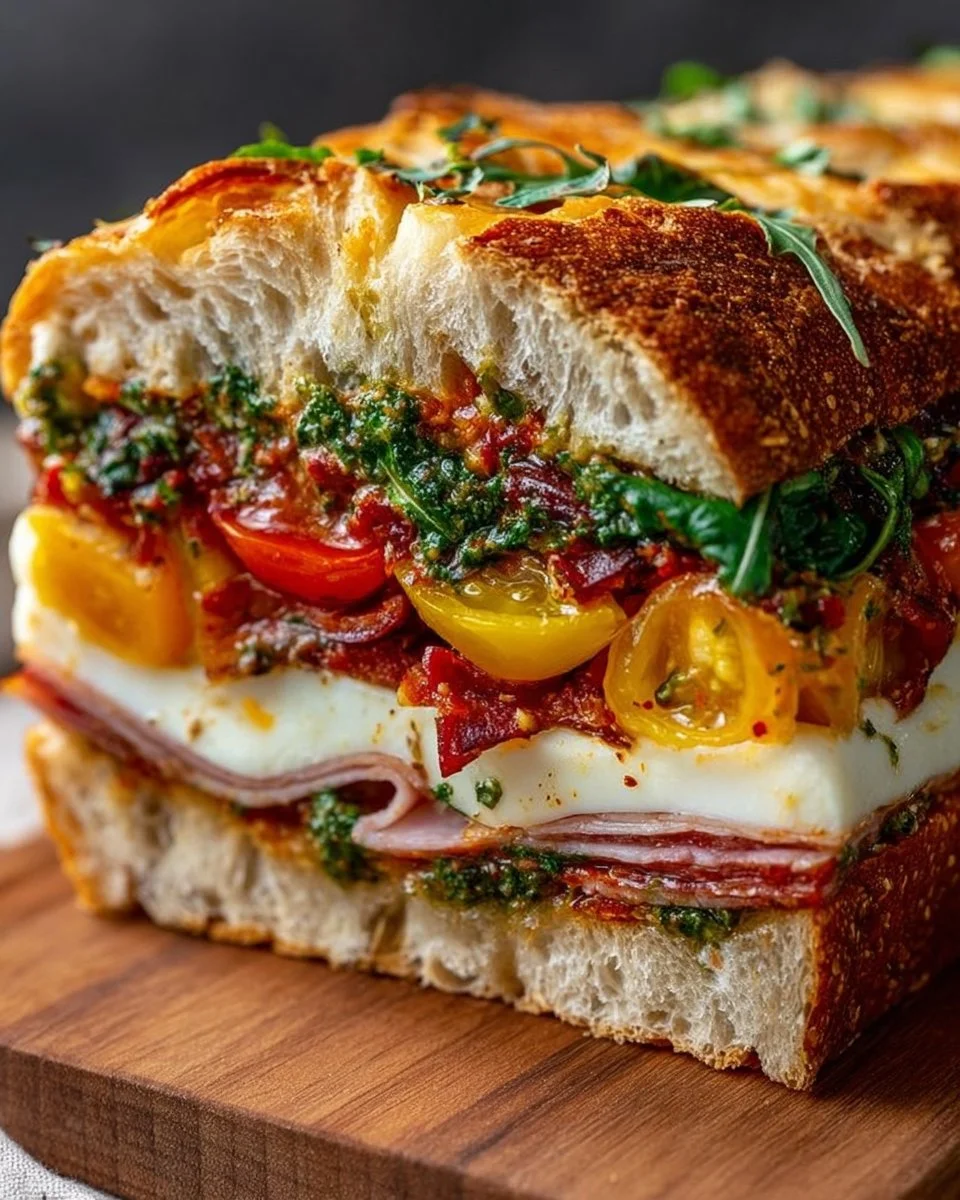
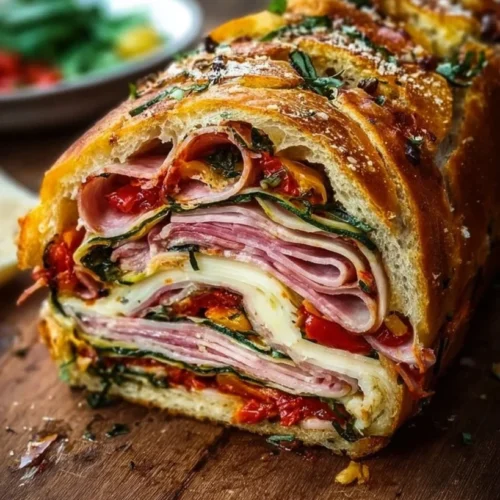
Ever taken a bite of a sandwich that instantly transports you to a sun-soaked Italian picnic? This Ultimate Pressed Italian Picnic Sandwich Loaf is your ticket to that culinary getaway! Imagine layers of salty cured meats, creamy provolone, and a medley of bright roasted peppers all nestled in crusty bread. Easy to make and even easier to devour, this sandwich dreams of summer outings and lazy afternoons.
Why Make This Recipe
So, why should you whip up this delicious creation?
- Easy Prep: No cooking here! Just a bit of layering and some wrapping, and you’re golden.
- Family Friendly: Kids and adults alike will love the flavors packed into each slice. Seriously, it’s a crowd-pleaser!
- Make-Ahead Magic: Perfect for picnics or meal prep! Just make it, press it, and forget about it until you’re ready to enjoy.
Trust me, you’ll want this recipe in your back pocket!
Ingredients
You don’t need fancy stuff — just these basics!
- Crusty bread (like ciabatta or focaccia)
- Salami
- Ham
- Provolone cheese
- Roasted peppers
- Olive tapenade
- Spinach or arugula (for vegetarian option)
- Italian herbs (optional)
- Olive oil (for drizzling)
- Salt and pepper to taste
Gather these goodies, and let’s start building something spectacular!
Directions
Follow these simple steps, and you’ll be on your way to flavor town:
- Slice the crusty bread horizontally to create a top and bottom.
- Layer the salami, ham, provolone, roasted peppers, and olive tapenade on the bottom half of the bread.
- If making a vegetarian option, substitute the meats with additional roasted peppers and spinach or arugula.
- Sprinkle with Italian herbs (if using) and drizzle with olive oil, then season with salt and pepper.
- Close the sandwich with the top half of the bread.
- Wrap the entire sandwich tightly in plastic wrap or parchment paper.
- Place a weighted object on top (like a heavy skillet) to press the sandwich down.
- Refrigerate for at least 4 hours, or overnight if possible.
- To serve, unwrap and slice into portions.
How to Make Ultimate Pressed Italian Picnic Sandwich Loaf (Overview)
Making this Italian delight is a breeze! Start with that hearty bread and layer on all the goodies. Pro tip: Don’t skimp on the olive tapenade; it adds a punch of flavor that ties everything together beautifully. After you’ve built your sandwich, wrap it tight — think of it as giving your creation a cozy hug before it chills in the fridge. The longer it sits, the better the flavors meld.
How to Serve Ultimate Pressed Italian Picnic Sandwich Loaf
Slice this beauty into generous portions and watch as those colorful layers reveal themselves. The vibrant reds of roasted peppers, the rich yellows of cheese, and the deep greens of spinach will all call out for attention. Serve it alongside a crisp green salad or crunchy potato chips to accentuate the sandwich’s hearty flavors and textures. Your taste buds will dance!
How to Store Ultimate Pressed Italian Picnic Sandwich Loaf
This sandwich is your friend when it comes to leftovers! It lasts in the fridge for about 3 days, packed tight in plastic wrap. Don’t plan on freezing it, though; soggy sandwiches aren’t anyone’s jam. If you’re making ahead, you can assemble and press it a day in advance. Just let it sleep in the cool for maximum flavor absorption!
Tips to Make Ultimate Pressed Italian Picnic Sandwich Loaf
- Choose the Right Bread: A crusty loaf holds up better and adds that satisfying crunch.
- Cut Straight: Use a serrated knife for easy slicing; no one wants a squished sandwich!
- Add More Veggies: Sneak in some greens for added crunch and nutrition.
- Experiment with Flavors: The more herbs, the merrier — feel free to toss in what you love!
- Timing is Key: Let the sandwich press overnight if you can; flavor magic happens with time!
Variation
Want to switch things up? Make it a vegan delight by swapping meats for roasted veggies like zucchini or eggplant and using vegan cheese. Spice things up with pesto instead of olive tapenade for a fresh twist!
FAQs
Can I use different types of bread?
Absolutely! Any crusty bread will work, but ensure it’s sturdy enough to hold all those fillings.
How far in advance can I make this sandwich?
You can make it up to 24 hours ahead. Just wrap it up tight for the best flavor!
Can I freeze the Ultimate Pressed Italian Picnic Sandwich Loaf?
It’s best not to freeze. The textures won’t hold up well after thawing, but you can make it a day in advance for fridge storage.
So there you have it! An easy, delightful sandwich recipe that packs flavors perfect for any gathering. Enjoy making your Ultimate Pressed Italian Picnic Sandwich Loaf — it’s sure to wow your friends and family!
📌 Pin this recipe for your next cozy dinner night!
Ultimate Pressed Italian Picnic Sandwich Loaf
Ingredients
Sandwich Base
- 1 loaf crusty bread (like ciabatta or focaccia) Choose a sturdy loaf for best results.
Filling Ingredients
- 4 oz salami
- 4 oz ham
- 4 oz provolone cheese
- 1 cup roasted peppers
- 1/3 cup olive tapenade Essential for flavor.
- 1 cup spinach or arugula Optional for vegetarian option.
- 1 tsp Italian herbs Optional for additional flavor.
- 2 tbsp olive oil For drizzling.
- to taste salt and pepper For seasoning.
Instructions
Preparation
- Slice the crusty bread horizontally to create a top and bottom.
- Layer the salami, ham, provolone, roasted peppers, and olive tapenade on the bottom half of the bread.
- If making a vegetarian option, substitute the meats with additional roasted peppers and spinach or arugula.
- Sprinkle with Italian herbs (if using) and drizzle with olive oil, then season with salt and pepper.
- Close the sandwich with the top half of the bread.
- Wrap the entire sandwich tightly in plastic wrap or parchment paper.
- Place a weighted object on top (like a heavy skillet) to press the sandwich down.
- Refrigerate for at least 4 hours, or overnight if possible.
- To serve, unwrap and slice into portions.
Notes
Printable Recipe Card
Want just the essential recipe details without scrolling through the article? Get our printable recipe card with just the ingredients and instructions.