Sweet Delights Await
Who can resist the aroma of warm cookies wafting through the kitchen? If you love cookies that look as adorable as they taste, then you’re in for a treat with these Heart Slice and Bake Cookies! They’re perfect for any occasion, especially when you want to bring a smile to someone’s face. Plus, they’re super easy to make, giving you more time to binge-watch your favorite show!
Why Make This Recipe
First off, these cookies are simple to whip up—no complicated steps here, my friend! They practically bake themselves, allowing you to enjoy the process without any fuss.
Secondly, the clean-up? A breeze! You only need a couple of bowls and the joy of licking the spoon. Plus, they’re fun to decorate, so it’s a great activity for kids. Honestly, why wouldn’t you want to make these?
Ingredients
You don’t need fancy stuff — just these basics! Here’s what you’ll need to create these delightful cookies:
- 2 1/4 cups all-purpose flour
- 1/2 teaspoon baking soda
- 1/4 teaspoon salt
- 1 cup unsalted butter, softened
- 3/4 cup granulated sugar
- 3/4 cup brown sugar
- 1 teaspoon vanilla extract
- 1 large egg
- Red food coloring (natural, optional)
- Sprinkles (optional, but why not?)
Directions
Let’s get those cookies baking! Follow these easy steps:
- In a bowl, whisk together flour, baking soda, and salt. Set aside.
- In another bowl, cream together butter, granulated sugar, and brown sugar until light and fluffy.
- Beat in vanilla and egg until well combined.
- Gradually add dry ingredients to the wet mixture and mix until a dough forms.
- If using, divide dough and add red food coloring to one part, mixing until color is evenly distributed.
- Shape both doughs into logs, wrap in parchment paper, and refrigerate for at least 2 hours.
- Preheat oven to 350°F (175°C).
- Slice the chilled logs into heart shapes and place on a baking sheet lined with parchment paper.
- Sprinkle with extra sprinkles if desired.
- Bake for 8-10 minutes or until edges are golden.
- Allow to cool before serving.

How to Make Heart Slice and Bake Cookies (Overview)
Making these heart-shaped cookies is like a fun little adventure! Start by mixing your dry ingredients, and then cream your sugary dreams into a buttery delight. Don’t forget the food coloring—this is where the magic happens! After shaping your logs, a little patience goes a long way while they chill. When it’s time to slice and bake, the smell will have everyone gathering around, anticipating those first bites. Pro tip: Keep an eye on them in the oven; nobody likes cookies that are too crispy! 😉
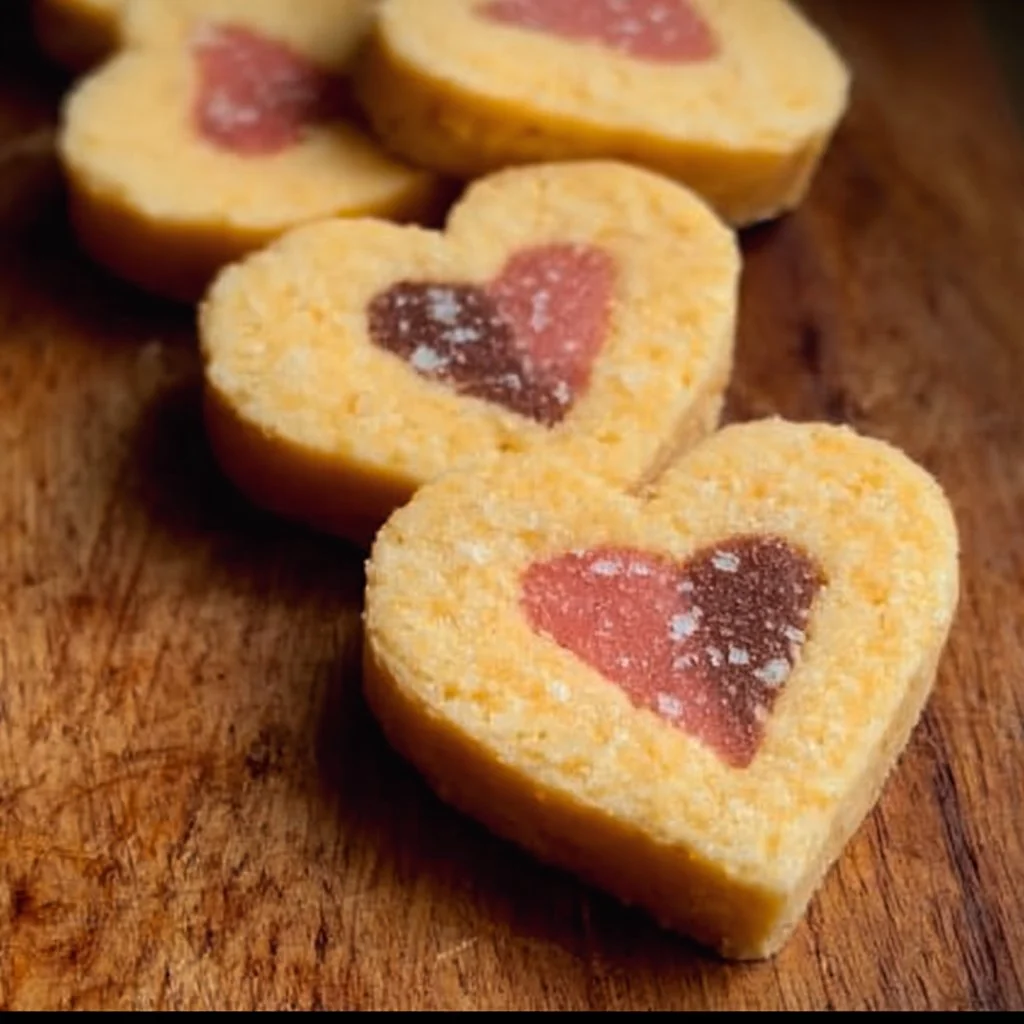
How to Serve Heart Slice and Bake Cookies
These cookies are not just about looks; they’re about flavor, texture, and joy. Serve them up on a pretty plate with a side of cold milk, or pair them with a hot cup of cocoa for the ultimate cozy vibe. The bright red hearts sprinkled with colorful sprinkles will add a pop of color and cheer to your dessert table. Just imagine taking a bite and feeling that soft crunch complemented by the warmth of the butter. Yum!
How to Store Heart Slice and Bake Cookies
Want to keep that cookie goodness? Store them in an airtight container at room temperature for about 5-7 days. If you want to keep them longer, toss them in the freezer where they can last for about 3 months. Just remember to let them thaw at room temperature before diving in. Easy peasy!
Tips to Make Heart Slice and Bake Cookies
- Chill, chill, and chill again: The longer they chill, the better they hold their shape while baking.
- Replace butter with coconut oil for a fun twist!
- Stick with room temperature ingredients; it really helps things cream smoothly.
- If you want softer cookies, take them out right when the edges are golden!
- Can’t find red food coloring? Use beet juice for a natural option!
Variation
Feel like mixing it up? You can easily add chocolate chips for added sweetness, or swap out the sprinkles for crushed nuts. For a vegan version, substitute the butter with coconut oil and the egg with flaxseed meal mixed with water. The possibilities are endless!
FAQs
Q: Can I make the dough ahead of time?
A: Absolutely! You can refrigerate the dough for up to 3 days before baking. Just make sure to wrap it tightly.
Q: How do I get the perfect heart shape?
A: Use a sharp knife and make sure your logs are chilled well. A stable dough is key!
Q: Can I freeze the baked cookies?
A: Yes! Freeze them in a single layer and then transfer to a sealed bag to enjoy later.
📌 Pin this recipe for your next cozy dinner night!

Heart Slice and Bake Cookies
Ingredients
Dry Ingredients
- 2 1/4 cups all-purpose flour
- 1/2 teaspoon baking soda
- 1/4 teaspoon salt
Wet Ingredients
- 1 cup unsalted butter, softened Room temperature for better mixing
- 3/4 cup granulated sugar
- 3/4 cup brown sugar
- 1 teaspoon vanilla extract
- 1 large egg
- Red food coloring (natural, optional)
- Sprinkles (optional, but recommended)
Instructions
Preparation
- In a bowl, whisk together flour, baking soda, and salt. Set aside.
- In another bowl, cream together butter, granulated sugar, and brown sugar until light and fluffy.
- Beat in vanilla and egg until well combined.
- Gradually add dry ingredients to the wet mixture and mix until a dough forms.
- If using, divide dough and add red food coloring to one part, mixing until color is evenly distributed.
- Shape both doughs into logs, wrap in parchment paper, and refrigerate for at least 2 hours.
Baking
- Preheat oven to 350°F (175°C).
- Slice the chilled logs into heart shapes and place on a baking sheet lined with parchment paper.
- Sprinkle with extra sprinkles if desired.
- Bake for 8-10 minutes or until edges are golden.
- Allow to cool before serving.
Notes
Printable Recipe Card
Want just the essential recipe details without scrolling through the article? Get our printable recipe card with just the ingredients and instructions.