
The Aroma of Fresh-Baked Bread in Your Kitchen
Ever walked into a bakery and inhaled the warm, yeasty scent of freshly baked bread? Imagine capturing that irresistible aroma in your own kitchen without the fuss of kneading! This No Knead Gluten Free Bread recipe is here to save the day, transforming simple ingredients into a crusty delight that’s as easy to make as it is to devour. Seriously, you won’t believe how incredibly soft and fluffy it turns out!
Why Make This Recipe
Why should you give this recipe a try? Let me count the ways!
- No Fuss, No Bother: No need to spend hours kneading and prepping. Just mix, let it rise, and throw it in the oven.
- Gluten-Free Goodness: Perfect for those avoiding gluten but craving the joyful experience of fresh bread (because, um, who doesn’t love bread?).
- Family-Friendly: Kids and adults alike will love it. Bonus points for being customizable with your favorite add-ins like herbs or cheese!
Ingredients
You don’t need fancy stuff — just these basics!
- 3 cups gluten-free all-purpose flour
- 1 ½ teaspoons salt
- 1 teaspoon instant yeast
- 1 ½ cups warm water
- 2 tablespoons olive oil (optional)
- 1 teaspoon apple cider vinegar (optional)
Directions
Follow these steps to create your No Knead Gluten Free Bread:
- Mix Dry Ingredients: In a large mixing bowl, whisk together gluten-free flour, salt, and instant yeast until well combined.
- Add Wet Ingredients: Slowly stir in the warm water, olive oil, and apple cider vinegar to the dry ingredients. Mix until fully incorporated; the dough will be sticky and loose.
- First Rise: Cover the bowl with plastic wrap or a clean kitchen towel. Let the dough rise at room temperature for 8-12 hours, preferably overnight.
- Prepare for Baking: After rising, preheat your oven to 450°F (232°C). Place a Dutch oven or heavy pot with a lid inside the oven to heat.
- Shape the Dough: Flour your work surface lightly. Use a spatula to remove the dough from the bowl and fold it onto itself a couple of times. Form it into a rough ball without overworking it.
- Final Rise: Transfer the dough onto a piece of parchment paper. Cover lightly with a kitchen towel and let it rest for 30 minutes while the oven heats.
- Bake Bread: Carefully remove the hot Dutch oven from the oven. Using the parchment paper, lift the bread and place it into the pot. Cover with the lid and bake for 30 minutes.
- Remove Lid and Brown: After 30 minutes, remove the lid and bake for an additional 15 minutes to achieve a golden crust.
- Cool the Bread: Carefully remove the bread from the pot and allow it to cool on a wire rack for at least 30 minutes before slicing.
Following these steps will help you create a wonderfully delicious loaf that is sure to impress!
How to Make No Knead Gluten Free Bread: An Amazing Ultimate Recipe (Overview)
Ready to bake? Here’s a relaxed, friendly overview to guide you through the process. First off, mix the dry ingredients and add the wet ones—simple, right? Let the dough rise overnight like a sleeping beauty, then heat your pot while you shape the dough with love, not fuss. The final bake makes it incredibly satisfying to lift out that golden loaf and hear the crunch as you slice into it. Pro tip: Don’t skip the resting time; it makes a world of difference!
How to Serve No Knead Gluten Free Bread: An Amazing Ultimate Recipe
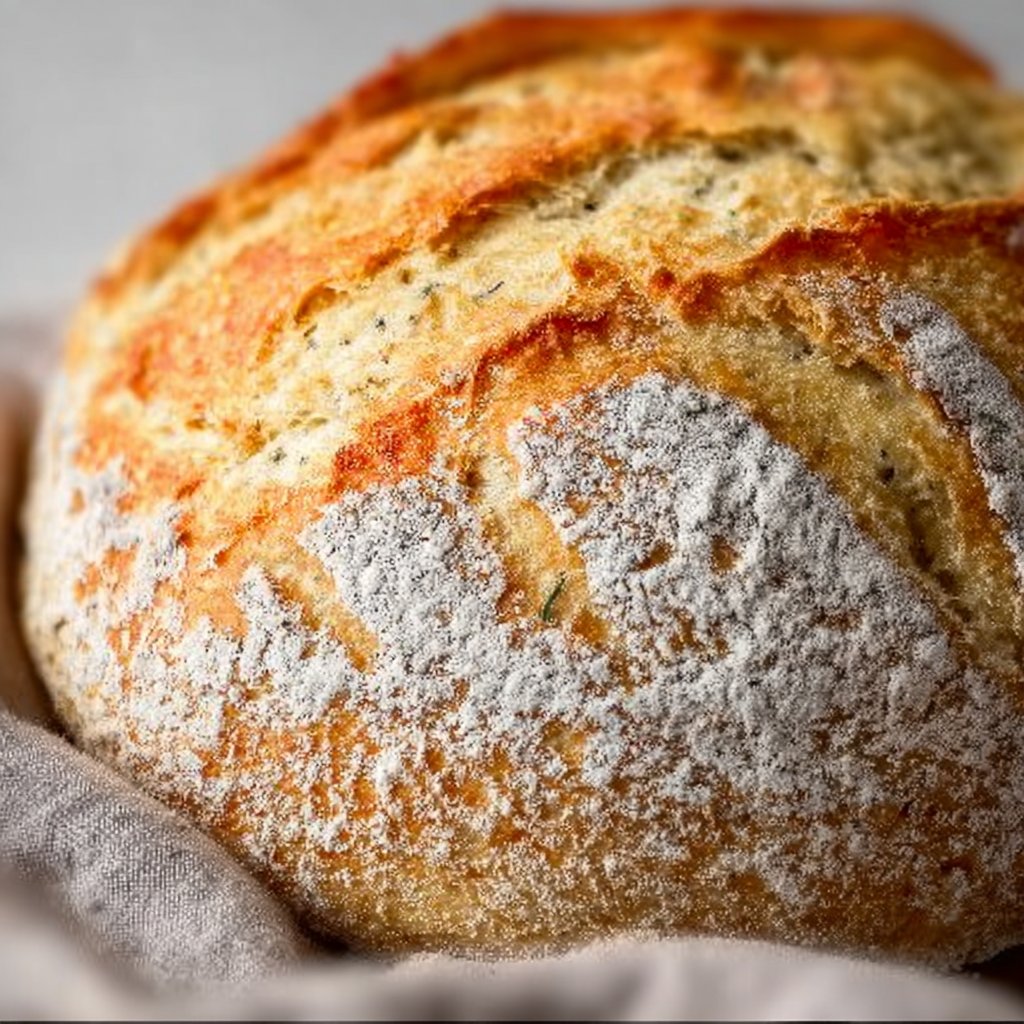
This bread shines with just about anything! Slather on some butter for warmth, dunk it in soup, or whip up a delightful avocado toast that’s totally Instagrammable. The beautiful light golden crust, paired with the soft, chewy interior, will have your taste buds dancing with joy. It’s the kind of bread that invites family and friends to gather around the table—bring on the good vibes!
How to Store No Knead Gluten Free Bread: An Amazing Ultimate Recipe
Want to know how long this baby lasts? The loaf keeps well for about 3-5 days on the counter in a bread bag, but if you want it to last longer, pop it in the fridge or freezer. For best results, reheat slices in the toaster or oven to revive that fresh-baked crunch. Trust me, it’s worth it!
Tips to Make No Knead Gluten Free Bread: An Amazing Ultimate Recipe
Here are some quick insider tricks to elevate your bread-making game:
- Use a mix of flours: Experimenting with different gluten-free flours can bring unique flavors and textures.
- Add herbs or cheese: For a flavor upgrade, mix in some fresh herbs or cheese before the final rise.
- Check your yeast: Make sure your yeast is fresh and active for that perfect rise.
- Don’t rush the cooling: Letting the bread sit before slicing ensures you don’t end up with a gummy center.
Variation
Feeling adventurous? Try adding sun-dried tomatoes or a handful of nuts for a delightful twist! You can also opt for a vegan version by skipping the olive oil and vinegar—your bread will still be delicious!
FAQs
Can I use other gluten-free flours?
Absolutely! Just make sure to use a gluten-free all-purpose flour blend that has xanthan gum for the best results.
How do I make this bread ahead of time?
You can prepare the dough in advance and let it rise in the fridge overnight. Just bring it back to room temperature before baking.
Can I freeze the bread?
Yes, this bread freezes well! Just slice it up and store it in an airtight bag. Reheat slices straight from the freezer for fresh goodness anytime.
📌 Pin this recipe for your next cozy dinner night!

No Knead Gluten Free Bread
Ingredients
Dry Ingredients
- 3 cups gluten-free all-purpose flour
- 1.5 teaspoons salt
- 1 teaspoon instant yeast
Wet Ingredients
- 1.5 cups warm water
- 2 tablespoons olive oil optional
- 1 teaspoon apple cider vinegar optional
Instructions
Preparation
- In a large mixing bowl, whisk together gluten-free flour, salt, and instant yeast until well combined.
- Slowly stir in the warm water, olive oil, and apple cider vinegar to the dry ingredients. Mix until fully incorporated; the dough will be sticky and loose.
- Cover the bowl with plastic wrap or a clean kitchen towel. Let the dough rise at room temperature for 8-12 hours, preferably overnight.
Baking
- After rising, preheat your oven to 450°F (232°C). Place a Dutch oven or heavy pot with a lid inside the oven to heat.
- Flour your work surface lightly. Use a spatula to remove the dough from the bowl and fold it onto itself a couple of times. Form it into a rough ball without overworking it.
- Transfer the dough onto a piece of parchment paper. Cover lightly with a kitchen towel and let it rest for 30 minutes while the oven heats.
- Carefully remove the hot Dutch oven from the oven. Using the parchment paper, lift the bread and place it into the pot. Cover with the lid and bake for 30 minutes.
- After 30 minutes, remove the lid and bake for an additional 15 minutes to achieve a golden crust.
- Carefully remove the bread from the pot and allow it to cool on a wire rack for at least 30 minutes before slicing.
Notes
Printable Recipe Card
Want just the essential recipe details without scrolling through the article? Get our printable recipe card with just the ingredients and instructions.