Who doesn’t love a comforting bowl of fluffy perogies, especially when they’re gluten-free? Imagine biting into a tender, doughy pocket packed with creamy filling, just like the ones grandma used to make! These Gluten Free Perogies – Just Like Grandma’s capture all the nostalgic flavors, making them an unforgettable dish.
Why You’ll Love This Recipe
- Easy to make: No need to break a sweat here! With a few simple ingredients and steps, you can whip up a homemade dish that’s sure to impress.
- Family-friendly: Whether you’re cooking for picky eaters or family gatherings, these perogies are a hit for everyone at the table. Trust me, kids and adults alike devour them 🌟.
- Versatile filling options: Go classic with mashed potatoes or get adventurous with cheese and herbs. The filling choices are practically endless!
Ingredients
You don’t need fancy stuff — just these basics!
- 1/2 cup cream-style cottage cheese (or sour cream, start with 1/3 cup)
- 1/4 cup milk
- 1 large egg
- 1 tablespoon oil
- 1/2 cup brown rice flour
- 1/4 cup cornstarch
- 1/4 cup tapioca starch
- 2 tablespoons potato starch
- 2 tablespoons sweet rice flour
- 1 teaspoon xanthan gum
- 1/2 teaspoon salt
- Filling of your choice (e.g., mashed potatoes, cheese, onions)
- A little brown rice flour for sprinkling
Directions
Getting those perogies ready is easier than you think! Just follow these steps:
- Prepare the dough: In a blender, blend cottage cheese, egg, milk, and oil until smooth.
- Mix dry ingredients: In a stand mixer, combine all dry ingredients: brown rice flour, cornstarch, tapioca starch, potato starch, sweet rice flour, xanthan gum, and salt.
- Combine wet and dry ingredients: Slowly add the wet mixture to the dry mixture and mix until the dough forms. Aim for soft but not too sticky dough!
- Roll the dough: Roll the dough into a golf-ball-sized ball, place it on plastic wrap, fold the wrap over, and roll out the dough thin (about 1/16 inch thick).
- Fill the perogies: Spoon your desired filling onto one half of the dough oval.
- Seal the perogies: Wet the edges of the dough with water, fold over the filling, and press to seal. Use a round cutter for a clean finish.
- Refrigerate: Place the perogies on a cloth-lined baking pan and pop them in the fridge.
- Cook the perogies: Boil salted water, drop a few perogies at a time, and stir gently. They’re done when they float!
- Serve: Remove with a slotted spoon and garnish with butter or your favorite sauce.
How to Make Gluten Free Perogies – Just Like Grandma’s (Overview)
Think of the process like making a cozy hug in food form! Start by blending the wet ingredients to create a creamy base. Then, mix your dry ingredients and combine the two to form the dough. Roll it out, fill it up, seal it tight, and put them in the fridge to chill before boiling. Pro tip: Don’t skip the chilling step; it really helps with handling the dough!
How to Serve Gluten Free Perogies – Just Like Grandma’s
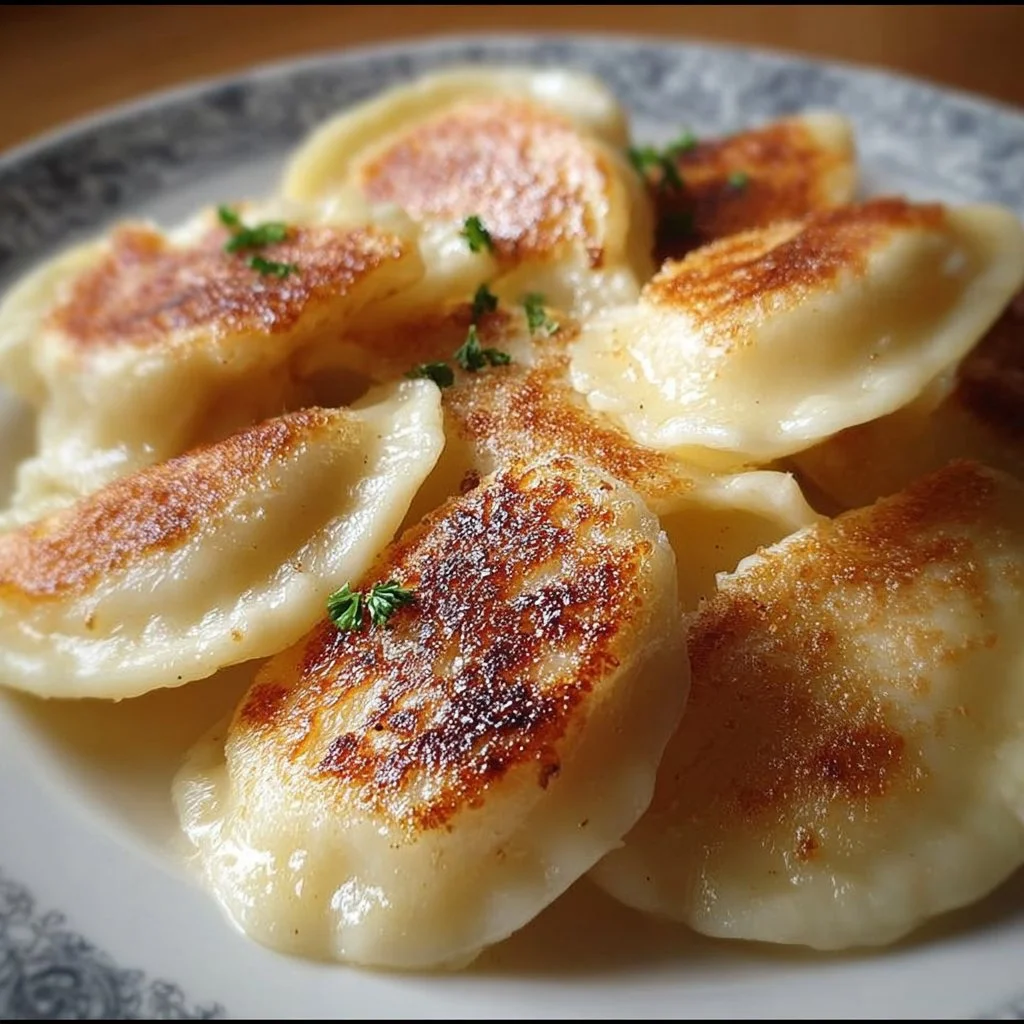
Imagine these little pockets of joy adorned with a sprinkle of parsley and a drizzle of melted butter. The gorgeous golden color and that creamy texture just begs to be savored. Want to elevate the experience? Serve them alongside crispy sautéed onions or a dollop of sour cream for that extra flavor punch.
How to Store Gluten Free Perogies – Just Like Grandma’s
These beauties can hang out in the fridge for up to 3 days. Planning ahead? You can freeze them for about 3 months. When you’re ready to enjoy, just pop them in boiling water straight from the freezer. Easy-peasy!
Tips to Make Gluten Free Perogies – Just Like Grandma’s
- Roll thinly: Keep the dough around 1/16 inch thick for ideal texture.
- Chill the dough: Helps it stay together when you boil those perogies.
- Experiment with fillings: Swap out traditional stuff for roasted veggies or spicy beans for a fun twist!🌶️
- Use a round cutter: Clean edges make sealing easier and keep the filling inside.
Variations
Feeling adventurous? Try making these perogies vegan by swapping eggs for a flaxseed egg and using plant-based milk and sour cream. Add herbs or spices to the filling for unique flavor combinations that’ll knock your socks off!
FAQs
1. Can I use different flours?
Absolutely! Just ensure you’re using gluten-free varieties. You might blend different types for better texture!
2. Can I make these ahead of time?
For sure! You can prepare and refrigerate them a day prior or freeze them up to 3 months.
3. What fillings work best?
Classic choices are mashed potatoes and cheese, but don’t shy away from inventive options like sautéed mushrooms or even sweet fillings like fruit. 🍏
These Gluten Free Perogies – Just Like Grandma’s make for a dish that brings warmth and nostalgia to your dinner table. It’s time to gather your loved ones and whip up a batch of these delightful homemade treats!
📌 Pin this recipe for your next cozy dinner night!

Gluten Free Perogies
Ingredients
Dough Ingredients
- 1/2 cup cream-style cottage cheese (or sour cream, start with 1/3 cup)
- 1/4 cup milk
- 1 large egg
- 1 tablespoon oil
- 1/2 cup brown rice flour
- 1/4 cup cornstarch
- 1/4 cup tapioca starch
- 2 tablespoons potato starch
- 2 tablespoons sweet rice flour
- 1 teaspoon xanthan gum
- 1/2 teaspoon salt
- as needed tablespoon brown rice flour for sprinkling for dusting
Filling Options
- to taste Filling of your choice (e.g., mashed potatoes, cheese, onions) Get adventurous with your favorite fillings.
Instructions
Preparation
- In a blender, blend cottage cheese, egg, milk, and oil until smooth.
- In a stand mixer, combine all dry ingredients: brown rice flour, cornstarch, tapioca starch, potato starch, sweet rice flour, xanthan gum, and salt.
- Slowly add the wet mixture to the dry mixture and mix until the dough forms. Aim for soft but not too sticky dough!
- Roll the dough into a golf-ball-sized ball, place it on plastic wrap, fold the wrap over, and roll out the dough thin (about 1/16 inch thick).
- Spoon your desired filling onto one half of the dough oval.
- Wet the edges of the dough with water, fold over the filling, and press to seal. Use a round cutter for a clean finish.
- Place the perogies on a cloth-lined baking pan and pop them in the fridge.
Cooking
- Boil salted water, drop a few perogies at a time, and stir gently. They’re done when they float!
- Remove with a slotted spoon and garnish with butter or your favorite sauce.
Notes
Printable Recipe Card
Want just the essential recipe details without scrolling through the article? Get our printable recipe card with just the ingredients and instructions.