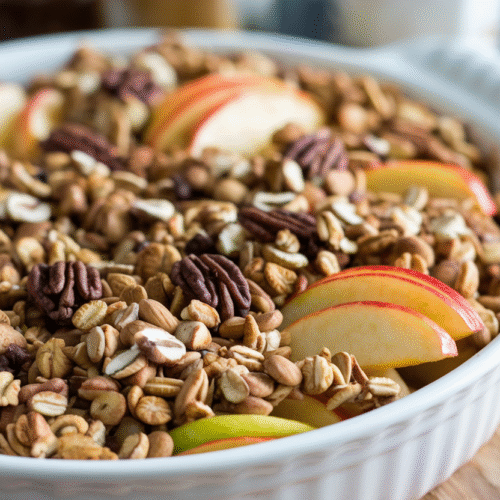
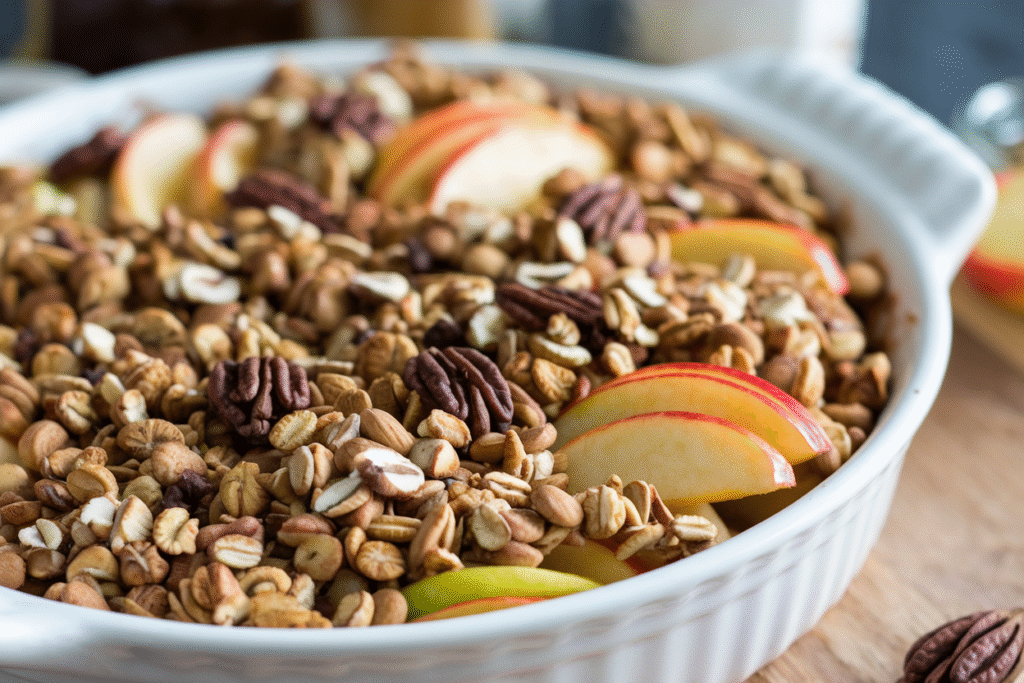
Imagine a dessert that tastes like your grandma’s best kept secret but fits your 2025 food rules. That’s this apple crisp: warm, golden, and unapologetically crunchy on top with a tart-sweet, buttery (but not butter) center. It’s the fast track from “Is this allergy-friendly?” to “Wait, can I have seconds?” in 40 minutes flat.
You don’t need fancy equipment, a pastry degree, or wheat/dairy to win dessert night—just a sheet pan, a bowl, and some apples with personality. This crisp gives you all the nostalgia with none of the fallout. No gluten crash, no dairy drama, and zero compromise on that caramelized edge we all secretly pick at when no one’s watching.
Ready to make your kitchen smell like a Norman Rockwell painting?
What Makes This Special
This recipe stays true to the classic: a juicy, cinnamon-laced apple base and a golden, oat-packed topping that snaps and crumbles with every bite. The twist? It’s engineered to be gluten-free and dairy-free without tasting like a workaround.
- Textural contrast dialed in: Tender apples + crisp topping = elite bite.
No mushy mess.
- Sweetness balance: A mix of sweet and tart apples plus lemon and vanilla for depth.
- Allergy-friendly without weirdness: Straightforward ingredients, no science project vibes.
- Weeknight easy: Minimal prep and no chilling. Your oven does the heavy lifting.
Shopping List – Ingredients
- Apples: 6–7 medium (about 2 1/2 to 3 pounds). Mix of Honeycrisp, Pink Lady, and Granny Smith.
- Lemon juice: 1 tablespoon (fresh is best).
- Coconut sugar or light brown sugar: 1/3 cup for filling + 1/2 cup for topping.
- Pure vanilla extract: 1 1/2 teaspoons (divided: 1 tsp for filling, 1/2 tsp for topping).
- Ground cinnamon: 2 teaspoons (divided: 1 1/4 tsp for filling, 3/4 tsp for topping).
- Nutmeg: 1/4 teaspoon (optional but recommended).
- Fine sea salt: 1/2 teaspoon (divided: a pinch for filling, rest for topping).
- Gluten-free flour blend: 1/2 cup (plus 1 tablespoon for tossing the apples).
Choose a 1:1 blend with xanthan gum.
- Certified gluten-free rolled oats: 1 cup.
- Almond flour: 1/3 cup (adds tender crumb; sub oat flour if nut-free).
- Chopped nuts: 1/3 cup pecans or walnuts (optional, omit for nut-free).
- Coconut oil or vegan butter: 6 tablespoons, melted and slightly cooled.
- Maple syrup: 1 tablespoon (boosts caramelization).
- Cornstarch or arrowroot: 1 1/2 tablespoons (for thickening filling).
Step-by-Step Instructions
- Preheat and prep: Heat oven to 350°F (175°C). Lightly grease a 9×9-inch baking dish or 2-quart casserole. If your dish runs shallow, set it on a sheet pan to catch any bubbly goodness.
- Slice the apples: Peel if you like a smooth filling; leave skins on for rustic vibes and extra fiber.
Core and slice into 1/4-inch wedges. Consistency matters for even baking.
- Toss the filling: In a large bowl, combine apples, lemon juice, 1/3 cup coconut sugar, 1 teaspoon vanilla, 1 1/4 teaspoons cinnamon, nutmeg, a pinch of salt, and 1 1/2 tablespoons cornstarch. Add 1 tablespoon gluten-free flour and toss until every slice glistens.
- Load the dish: Spread apples evenly in your prepared baking dish.
Press down gently to eliminate gaps (better juiciness control).
- Make the crisp topping: In a separate bowl, stir together oats, 1/2 cup gluten-free flour, almond flour, 1/2 cup coconut sugar, 3/4 teaspoon cinnamon, remaining salt, and nuts if using. Drizzle in melted coconut oil and maple syrup plus 1/2 teaspoon vanilla. Mix until clumpy and evenly moistened.
- Top it: Sprinkle the mixture over apples, lightly pressing to create craggy clusters.
Those crags? Crunch central.
- Bake: Bake 35–45 minutes, until the topping is deeply golden and the filling is bubbling around the edges. If browning too fast, tent loosely with foil for the last 10 minutes.
- Rest: Cool at least 15 minutes.
The juices thicken as it rests—impatient spoons will get soup. Your call.
- Serve: Best warm. Add a scoop of dairy-free vanilla ice cream or a drizzle of coconut cream for full chef’s kiss status.
Storage Instructions
- Room temp: Covered for up to 6 hours if your kitchen isn’t tropical.
- Refrigerator: Store in an airtight container for 3–4 days.
Topping will soften; still delicious.
- Reheat: 350°F for 10–12 minutes to re-crisp. Individual servings? Air fryer at 330°F for 5–6 minutes.
Microwave works in a pinch (just not for crunch fanatics).
- Freeze: Bake first, cool completely, then wrap well and freeze up to 2 months. Reheat covered at 350°F for 20–25 minutes, then uncover 5 minutes to re-crisp.
What’s Great About This
- All-in-one crowd-pleaser: Gluten-free and dairy-free that passes the “didn’t even notice” test.
- Budget-friendly: Uses pantry staples and peak-season apples—no specialty unicorn powders.
- Flexible: Works with different apples, sweeteners, and fats without falling apart.
- Fast payoff: Minimal prep, huge aroma, instant cozy points.
What Not to Do
- Don’t over-slice the apples: Paper-thin slices turn mushy. Aim for 1/4-inch.
- Don’t skip the starch: Cornstarch or arrowroot keeps the filling saucy, not watery.
Science matters.
- Don’t drown the topping in oil: Too much fat = greasy crumble. Stick to the measured 6 tablespoons.
- Don’t use quick oats: Rolled oats hold structure; quick oats can get pasty. IMO, not worth it.
- Don’t bake blind: Look for bubbling edges and golden brown top.
Color and bubbles are your green lights.
Recipe Variations
- Nut-Free: Swap almond flour for oat flour and omit nuts. Add 1 tablespoon pumpkin seeds for crunch.
- Cardamom-Chai: Add 1/2 teaspoon ground cardamom, 1/4 teaspoon ginger, and a pinch of cloves to the filling.
- Salted Caramel Vibe: Drizzle 2 tablespoons dairy-free caramel over the apples before topping; finish with flaky salt.
- Pear-Apple Mix: Use 3 apples + 3 firm pears. Increase starch to 2 tablespoons since pears release more juice.
- Low-Sugar: Reduce sugar by 25–30% and add 1 extra tart apple.
You’ll still get big flavor.
- Cast-Iron Skillet: Assemble and bake in a 10-inch oven-safe skillet for extra caramelized edges. FYI, preheat the skillet 5 minutes for bonus sizzle.
FAQ
Which apples are best for apple crisp?
A blend wins. Use tart Granny Smith for structure and Honeycrisp or Pink Lady for sweetness and juice.
Mixing varieties gives you complex flavor and perfect texture.
Can I make this without oats?
Yes. Replace oats with a 50/50 mix of almond flour and chopped nuts or use certified gluten-free oat-free “granola” crumbs. Texture changes, but it’s still craveable.
Is coconut oil the only dairy-free fat that works?
Nope.
Vegan butter gives a classic buttery taste, while refined coconut oil is neutral. Olive oil works in a pinch but adds a distinct flavor—some love it, some don’t.
How do I prevent a soggy topping?
Keep the fat measured, don’t overmix to paste, and bake until deep golden with bubbling edges. Resting 15 minutes helps the topping set and the filling thicken.
Can I prep this ahead?
Yes.
Mix the dry topping and store at room temp up to 24 hours. Slice apples the day of, or toss sliced apples with lemon and cornstarch and refrigerate up to 6 hours. Assemble just before baking.
What’s the best way to reheat leftovers?
Oven or air fryer for crunch: 350°F until warm and crisped.
Microwave if you’re short on time, but the topping will soften.
Can I use coconut sugar and maple syrup together?
Absolutely. Coconut sugar adds a toasty, caramel note; maple syrup amps moisture and browning. The combo is why the topping clumps perfectly.
My Take
This is the kind of recipe that proves “free-from” doesn’t mean “fun-free.” It’s unapologetically classic—just re-engineered with smart swaps and a little technique.
The topping cracks, the apples gloss, and the aroma basically sells your house in 15 minutes. Make it once and it’s your new default—quick, reliable, and honestly? Pie could never.

Apple Crisp
Ingredients
For the apple filling
- 6–7 medium apples (about 2 1/2 to 3 pounds, a mix of Honeycrisp, Pink Lady, and Granny Smith)
- 1 tablespoon lemon juice (fresh is best)
- 1/3 cup coconut sugar or light brown sugar
- 1 teaspoon pure vanilla extract (for filling)
- 1 1/4 teaspoons ground cinnamon (for filling)
- 1 1/2 tablespoons cornstarch or arrowroot (for thickening filling)
- a pinch fine sea salt (for filling)
- 1 tablespoon gluten-free flour for tossing the apples
- 1/4 teaspoon nutmeg (optional but recommended)
For the crisp topping
- 1 cup certified gluten-free rolled oats
- 1/2 cup gluten-free flour blend choose 1:1 blend with xanthan gum
- 1/3 cup almond flour sub oat flour if nut-free
- 1/2 cup coconut sugar
- 3/4 teaspoon ground cinnamon (for topping)
- 1/2 teaspoon fine sea salt (for topping)
- 1/3 cup chopped nuts (pecans or walnuts, optional) omit for nut-free options
- 6 tablespoons coconut oil or vegan butter (melted and slightly cooled)
- 1 tablespoon maple syrup (boosts caramelization)
- 1/2 teaspoon pure vanilla extract (for topping)
Instructions
Preparation
- Preheat the oven to 350°F (175°C) and lightly grease a 9×9-inch baking dish or 2-quart casserole, placing it on a sheet pan to catch any drips.
- Peel the apples if desired; otherwise, leave skins on for a rustic texture. Core and slice them into 1/4-inch wedges.
- In a large bowl, toss the apple wedges with lemon juice, 1/3 cup coconut sugar, 1 teaspoon vanilla extract, 1 1/4 teaspoons cinnamon, nutmeg, a pinch of salt, and 1 1/2 tablespoons cornstarch, adding 1 tablespoon of gluten-free flour to coat.
Assembly
- Spread the apple mixture evenly into the prepared baking dish and press down gently.
- In another bowl, mix together the oats, 1/2 cup gluten-free flour, almond flour, 1/2 cup coconut sugar, 3/4 teaspoon cinnamon, remaining salt, and nuts if using. Drizzle in melted coconut oil and maple syrup with the remaining vanilla, mixing until clumpy.
- Sprinkle the oat mixture over the apples, lightly pressing it to create clusters.
Baking
- Bake for 35–45 minutes until the topping is golden and the filling is bubbling. Cover with foil if browning too quickly during the last 10 minutes.
- Allow to cool for at least 15 minutes before serving. Serve warm with dairy-free vanilla ice cream or coconut cream if desired.
Notes
Printable Recipe Card
Want just the essential recipe details without scrolling through the article? Get our printable recipe card with just the ingredients and instructions.

