You won’t believe how fluffy and delicious these Sweet Potato Waffles are!
Imagine waking up to the warm, inviting scent of freshly made Sweet Potato Waffles wafting through your home. These irresistible waffles combine the rich, earthy sweetness of mashed sweet potatoes with a light, crispy texture that even your pickiest eaters will adore. Plus, they whip up in no time at all, making breakfast feel like a treat without the fuss!
Why make this recipe
Why choose these Sweet Potato Waffles? Well, let’s be real—who doesn’t love a breakfast that’s not just delicious but also healthy? Here are a couple of reasons to get excited:
- Quick and easy cleanup: You can whip these up without turning your kitchen into a disaster zone (I know, what a dream!).
- Family-friendly: Kids will have no idea they’re eating veggies for breakfast! The sweet & cozy flavors are sure to win them over.
Ingredients
You don’t need fancy stuff — just these basics!
- 1 cup mashed sweet potatoes
- 1 cup almond milk (or any plant-based milk)
- 1 cup oat flour
- 1 tablespoon baking powder
- 1 tablespoon ground flaxseed
- 1 teaspoon cinnamon
- 1/2 teaspoon salt
- 2 tablespoons maple syrup (optional)
- Cooking oil for the waffle iron
Directions
Ready to get started? Follow these easy steps for perfectly crispy waffles:
- Preheat the waffle iron.
- In a large bowl, combine mashed sweet potatoes, almond milk, and maple syrup.
- In another bowl, mix oat flour, baking powder, ground flaxseed, cinnamon, and salt.
- Gradually combine the dry ingredients with the wet mixture until smooth.
- Lightly oil the waffle iron and pour batter to fill.
- Cook according to waffle maker instructions until golden and crispy.
- Serve warm with toppings of your choice.
How to make Sweet Potato Waffles (Overview)
Making these waffles is as easy as pie—but way more exciting, thanks to the sweet potato goodness! Start by mixing your wet ingredients together until they’re perfectly creamy. Then, combine them with the dry ingredients until you have a smooth batter. Remember to oil your waffle iron before pouring in that beautiful mix! Cook until golden brown, and voilà! You’ve got breakfast royalty ready to shine on your plate.
Pro tip: A light oiling of the waffle iron ensures that even the stickiest of batters releases easily—trust me, nobody wants a tragic stuck waffle moment!
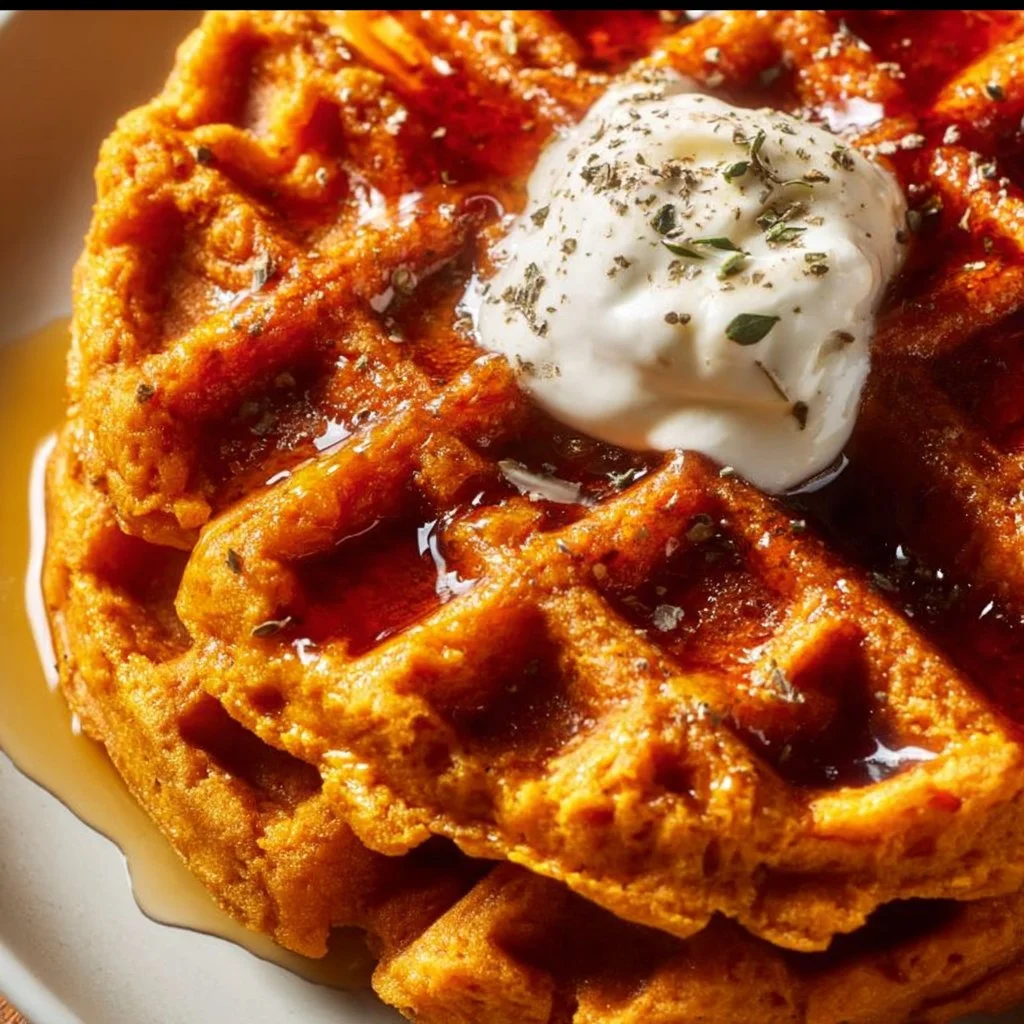
How to serve Sweet Potato Waffles
Get creative when serving these waffles! Top them with a drizzle of real maple syrup that glistens, a sprinkle of cinnamon, or even a dollop of Greek yogurt for a creamy contrast. Imagine a plate bursting with colors—golden waffles topped with bright, fresh berries, maybe some crushed nuts for crunch. The aroma alone will make your kitchen feel like a cozy café!
How to store Sweet Potato Waffles
Got leftovers? Lucky you! These waffles keep well. In the fridge, they’ll last for about 3-5 days, and you can pop them into the freezer for up to a month—perfect for a speedy breakfast on busy mornings. For reheating, just toast them for that crispiness you’ll crave!
Tips to make Sweet Potato Waffles
Here are a few quick insider tricks to take your waffle game to the next level:
- Use fresh sweet potatoes: The fresher they are, the sweeter the flavor!
- Experiment with flours: If you don’t have oat flour, almond flour works wonders too.
- Add a pinch more cinnamon: Because cinnamon makes everything better, right?
Variation
Want a twist? Consider tossing in some chocolate chips or walnuts for an extra surprise! You can also make these waffles vegan by skipping the optional maple syrup or using agave syrup instead. The flavor will remain delightful regardless!
FAQs
Can I use regular flour instead of oat flour?
Absolutely! Regular all-purpose flour will also work, but you may lose that lovely, nutty flavor.How do I make these ahead of time?
Make the batter the night before and store it in the fridge. Just remember to give it a good stir before cooking!Can I freeze un-cooked batter?
Yes, you can freeze the batter! Just thaw it out in the fridge overnight before cooking. Easy peasy!
📌 Pin this recipe for your next cozy dinner night!
Printable Recipe Card
Want just the essential recipe details without scrolling through the article? Get our printable recipe card with just the ingredients and instructions.