
Have you ever tasted the delight of a perfectly crisp ice cream cone, one that crumbles just right with each delicious bite? Imagine a warm, homemade cone enveloping your favorite ice cream, all without the worry of gluten. That’s exactly what you’ll find with this Gluten Free Ice Cream Cones Recipe! It’s easy, fun, and will have your taste buds dancing in no time.
Why Make This Recipe
This recipe takes the classic ice cream cone and puts a gluten-free spin on it, making it accessible for everyone! Here are a few reasons to whip these up:
- Quick and Easy Cleanup: Just one pan and minimal mess. Who doesn’t appreciate less time cleaning and more time enjoying?
- Family-Friendly Fun: Kids will love helping to pour the batter and roll their own cones. It’s a sweet bonding moment that doubles as dessert!
- Affordable Ingredients: Forget fancy ingredients that break the bank. You can easily find everything in your pantry.
Ingredients
You don’t need fancy stuff — just these basics!
- 1/2 cup gum free gluten-free flour (See Recipe Notes)
- 1/8 teaspoon xanthan gum (optional, See Recipe Notes)
- 1/8 teaspoon kosher salt
- 3/8 cup granulated sugar
- 2 tablespoons unsalted butter (melted and cooled)
- 1 egg white (at room temperature)
- 1 teaspoon vanilla extract (or 1/2 teaspoon almond extract)
- 2 to 4 tablespoons milk (plus more by the drop, as necessary)
- Coconut oil or butter for greasing the pan
Directions
Ready to make some cone magic? Follow these simple steps:
- In a large measuring cup or bowl with a pour spout, combine the flour blend, xanthan gum, salt, and granulated sugar. Whisk them together until well-combined.
- Add in the melted butter, vanilla extract, egg white, and 2 tablespoons of milk. Whisk until the mixture is very smooth. If needed, add more milk a teaspoon at a time until the batter is pourable but not too thin—think pancake batter consistency.
- Lightly brush a 10-inch nonstick pan with coconut oil or butter and heat it over medium-low.
- Once hot, pour about 3 tablespoons of batter into the pan, allowing it to spread out into a circle about 5 inches in diameter.
- Cook until the edges are set and starting to brown, approximately 2 minutes.
- Flip the cone and press down gently with a flat spatula. Cook for another minute, then flip again. Repeat until it’s nicely golden brown on at least one side.
- Remove from the pan and immediately roll it into a cone shape. Use your fingers to shape the tip while cinching the bottom shut.
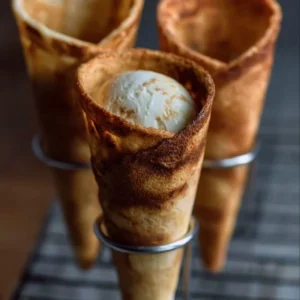
- Place the cone on a wire rack to cool, and repeat with the remaining batter.
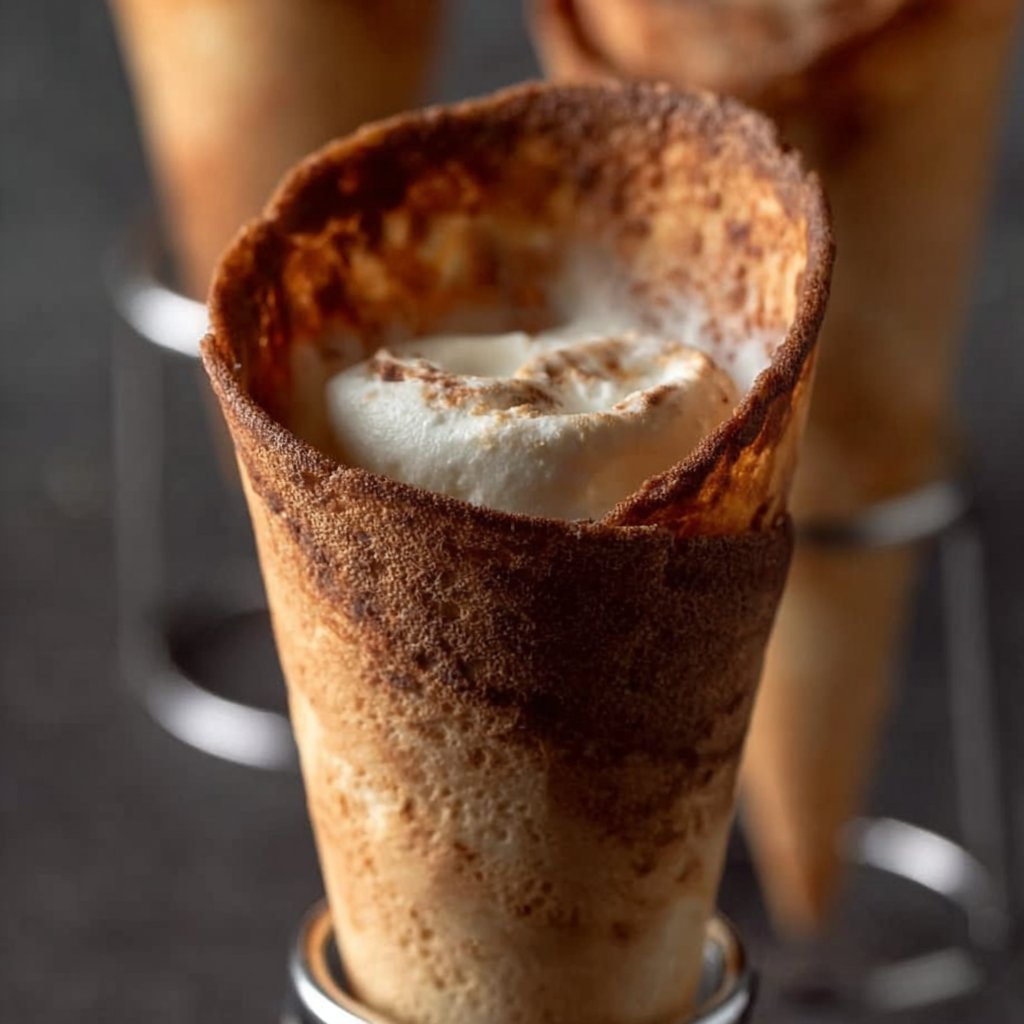
- For preventing sogginess, pop a mini marshmallow in the bottom of each cone before adding ice cream. These will help catch drips!
How to Make Gluten Free Ice Cream Cones Recipe (Overview)
Making these cones is all about the fun! You start with a simple batter—whisking together the dry and wet ingredients, just like baking a cake without the frills. The key is to get the batter to a pourable consistency but not too thin (it’s all about balance here, folks!).
Pro tip: If you’re using a flour with xanthan gum already mixed in, keep a close eye on the milk consistency—you might need extra dollops. Who doesn’t want a perfectly shaped cone?
How to Serve Gluten Free Ice Cream Cones Recipe
The best way to enjoy these homemade cones is, obviously, filled with your favorite ice cream! Picture vibrant scoops of strawberry, velvety chocolate, or classic vanilla spilling over the edges—pure bliss!
Add toppings for a dramatic flair: sprinkles, chocolate sauce, or whipped cream. The crunch of the cone against the smooth ice cream creates a delightful textural contrast that’s simply irresistible.
How to Store Gluten Free Ice Cream Cones Recipe
In the right conditions, these cones can remain crispy for about two days at room temperature, or up to three days stored in a sealed glass jar. Prefer to prep ahead? Make these cones and keep them in a sealed container—just be sure to let them cool completely before sealing them in!
Tips to Make Gluten Free Ice Cream Cones Recipe
- Dough Consistency: Always keep an eye on the batter’s consistency. It should pour easily but not flood your pan.
- Flipping Technique: Use a good spatula when flipping—this keeps your cones intact and perfect!
- Add Flavor: Don’t hesitate to mix in some spices or zest for a zing (cinnamon or lemon zest pairs nicely!).
Variation
Want to add a twist? Consider swapping out the vanilla extract for almond extract to give your cones a nutty flavor! Additionally, you can experiment by folding in some cocoa powder for chocolate cones or add crushed graham crackers for a s’mores vibe. 🍦
FAQs
Can I use regular flour instead of gluten-free?
Nope! This recipe is specifically designed for gluten-free flour. Regular flour will lead to a different texture and may not be suitable for gluten-sensitive individuals.How can I freeze these cones?
They don’t freeze well, unfortunately. The best bet is to make them fresh when you’re ready to serve!Can I substitute the egg white?
Absolutely! Try using a flax egg or an equivalent egg substitute for a vegan option.
Time to grab that ice cream and start rolling! Enjoy those cones!
📌 Pin this recipe for your next cozy dinner night!
Gluten Free Ice Cream Cones
Ingredients
Dry Ingredients
- 1/2 cup gum free gluten-free flour See Recipe Notes
- 1/8 teaspoon xanthan gum optional, See Recipe Notes
- 1/8 teaspoon kosher salt
- 3/8 cup granulated sugar
Wet Ingredients
- 2 tablespoons unsalted butter melted and cooled
- 1 large egg white at room temperature
- 1 teaspoon vanilla extract or 1/2 teaspoon almond extract
- 2 to 4 tablespoons milk plus more by the drop, as necessary
Other
- Coconut oil or butter for greasing the pan
Instructions
Preparation
- In a large measuring cup or bowl with a pour spout, combine the flour blend, xanthan gum, salt, and granulated sugar. Whisk them together until well-combined.
- Add in the melted butter, vanilla extract, egg white, and 2 tablespoons of milk. Whisk until the mixture is very smooth. If needed, add more milk a teaspoon at a time until the batter is pourable but not too thin—think pancake batter consistency.
Cooking
- Lightly brush a 10-inch nonstick pan with coconut oil or butter and heat it over medium-low.
- Once hot, pour about 3 tablespoons of batter into the pan, allowing it to spread out into a circle about 5 inches in diameter.
- Cook until the edges are set and starting to brown, approximately 2 minutes.
- Flip the cone and press down gently with a flat spatula. Cook for another minute, then flip again. Repeat until it’s nicely golden brown on at least one side.
- Remove from the pan and immediately roll it into a cone shape. Use your fingers to shape the tip while cinching the bottom shut.
- Place the cone on a wire rack to cool, and repeat with the remaining batter.
Notes
Printable Recipe Card
Want just the essential recipe details without scrolling through the article? Get our printable recipe card with just the ingredients and instructions.