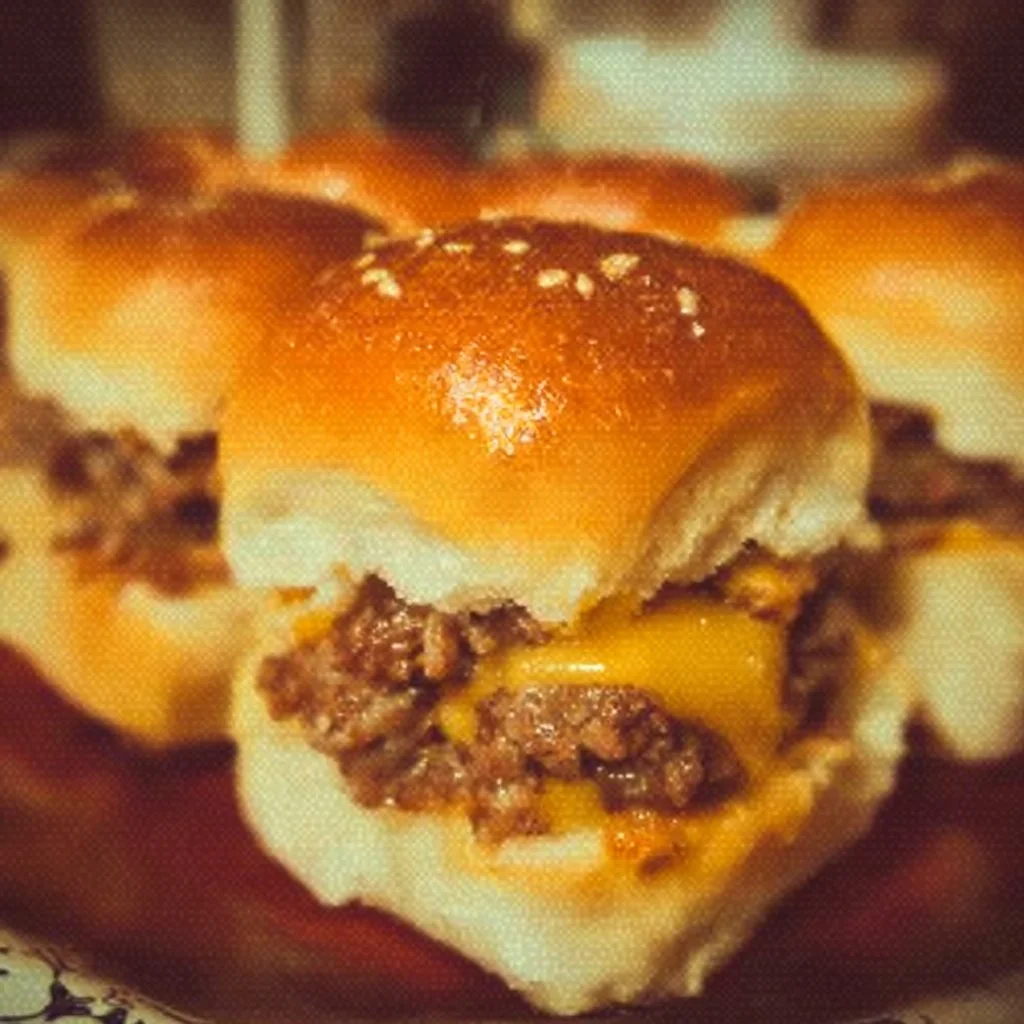
The Ultimate Party Treat!
Ever found yourself gushing over a batch of cheesy, juicy mini burgers that practically scream "dig in!"? These Cheeseburger Sliders might just become your go-to for game nights, family get-togethers, or cozy movie marathons. They’re quick, packed with flavor, and honestly, who can resist a bite-sized cheeseburger?
Why Make This Recipe
You’re in for a treat, and here’s why!
- Easy Cleanup: These sliders come together in one pan. Less mess means more time for you to enjoy.
- Family-Friendly Fun: Kids love them, adults love them, and they’re totally customizable. Everyone’s happy!
- Budget-Friendly: You can whip up a batch without breaking the bank! Win-win, right?
Ingredients
You don’t need fancy stuff — just these basics!
- 1 pound ground beef
- 1 tablespoon garlic powder
- 1 teaspoon onion powder
- Salt and pepper to taste
- 1 cup shredded cheddar cheese
- 12 slider buns
- Ketchup and mustard for serving
- Pickles (optional)
- Lettuce and tomato for topping (optional)
Directions
Let’s get cooking!
- Preheat the oven to 350°F (175°C).
- In a large bowl, mix the ground beef with garlic powder, onion powder, salt, and pepper.
- Form into small patties that will fit the slider buns.
- Cook the patties on a skillet or grill until browned and cooked through, about 3-4 minutes per side.
- Place the patties on the bottom halves of the slider buns, add a sprinkle of cheddar cheese, and top with the other half of the buns.
- Arrange the sliders on a baking sheet and cover with foil.
- Bake in the preheated oven for about 10 minutes to melt the cheese.
- Serve with ketchup, mustard, and optional toppings like pickles, lettuce, and tomato.
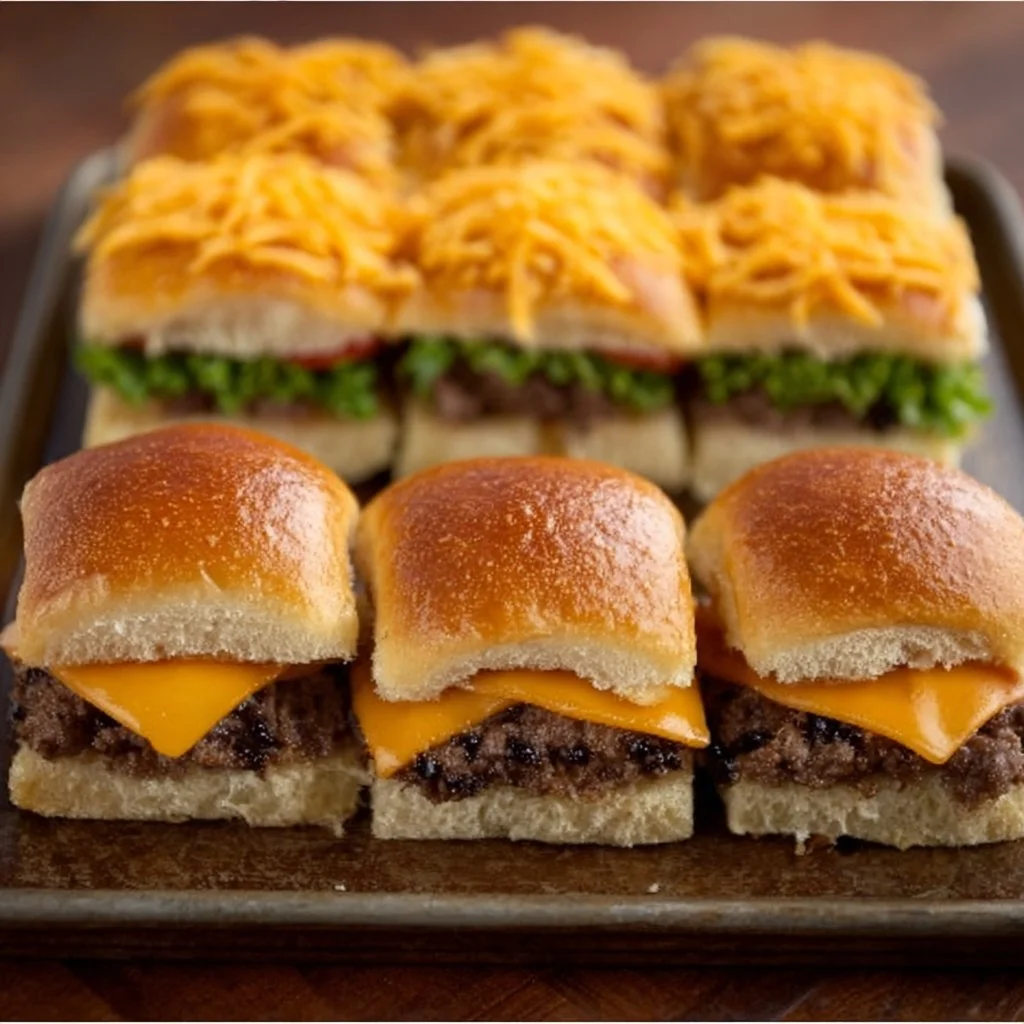
How to Make Cheeseburger Sliders (Overview)
Making these sliders is a breezy process! Start with a simple beef mix and shape your patties. Sizzle those burgers on the skillet until they’re perfectly cooked and savory. Layer them with cheese and slide them into the oven for that gooey goodness. Pro tip? Don’t skip melting the cheese; it’s like the cherry on top of your burger sundae! 🍔✨
How to Serve Cheeseburger Sliders
Take these sliders to the next level by serving them with colorful sides! Think fresh, crunchy lettuce and ripe tomatoes. The aroma of warm sliders oozing with melted cheese will fill your kitchen as you pull them out of the oven—pure bliss! Pair with crispy potato chips or a refreshing side salad for a meal that’s not just tasty but looks good too. 😋
How to Store Cheeseburger Sliders
If you end up with leftovers (no promises!), they keep well in the fridge for about 3 days. Just pop them in an airtight container. Want to enjoy them later? You can freeze them for up to a month! To reheat, simply put them in the oven, or for a speedy fix, use the microwave.
Tips to Make Cheeseburger Sliders
- Mix it Up: Use ground turkey or chicken for a lighter version.
- Extra Crunch: Toast the buns before assembling for a delightful texture.
- Cheese Lovers Unite: Experiment with different cheeses like pepper jack or Swiss for fun flavors.
- Meal Prep Magic: Shape patties ahead, store them in the fridge, and cook when you’re ready. Super handy! 👍
Variation
Want to spice things up? Add some jalapeños for a kick, or try making them meatless with a plant-based burger substitute. You can even pack them with sautéed mushrooms or grill some onions to mix in. So versatile!
FAQs
Can I make these sliders ahead of time?
Absolutely! You can prep the patties and store them in the fridge until you’re ready to cook them.What can I serve with these sliders?
Chips, fries, or even a fresh salad make great sides!How do I freeze leftover sliders?
Let them cool completely, then wrap them tightly in plastic wrap and place them in a freezer-safe bag.
📌 Pin this recipe for your next cozy dinner night!
Printable Recipe Card
Want just the essential recipe details without scrolling through the article? Get our printable recipe card with just the ingredients and instructions.